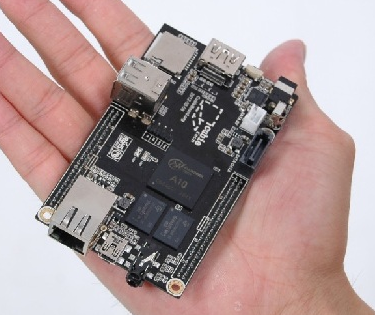
Image from the Cubieboard.org website
Materials
- A 2GB micro SD card (I had problems with a 1GB card)
- A development machine with OS X or Linux (there's a way to do this on Windows, but I didn't have any Windows machines at close hand)
- Ethernet cable for connecting the CubieBoard to a network with DHCP support
Getting the Debian Image
My first task was to source the new image that would run the CubieBoard, I downloaded the image from http://romanrm.ru/en/a10/debianThe image needed to be "installed" on an microSD card. To achieve this on a Mac running OS X I had to run the following commands to become the root user then unmount the SD card and dump the debian server image to the SD card.
sudo su
diskutil list #for me the sd card was located at /dev/disk1
diskutil unmountDisk /dev/disk1
bzip2 -dc a10-debian-server-2gb.2013-04-11.img.bz2 > /dev/disk1
The last step easily took 40 minutes.
Booting the CubieBoard
I then inserted the microSD in the microSD slot of the CubieBoard and powered it up.It booted with little visible indication of success.
Logging into the Board
To be sure it was working I needed to find a way to log into the machine. I was able to find the ip address of my CubieBoard by accessing the administrative page of my router and viewing the list of DHCP clients. The output looked like this, the device identifies itself as being debian:.png)
After this I logged in using the ip address that I discovered, the default username and password are "root" and "password".
ssh root@192.168.x.x # x.x would be the rest of your ip addressAnd ran an update
apt-get update
Playing with the LEDS
My first project entailed getting control over the CubieBoard's built in LEDs. I had to rebuild my script.bin which required installing supporting tools (fex2bin and bin2fex). bin2fex converts the script.bin to a text editable script.fex file and fex2bin regenerates the binary file that the CubieBoard looks for at boot time. I had to retrieve the latest version of the tools from github using the commands below:apt-get install git-core pkg-config libusb-1.0-0-dev build-essential
git clone https://github.com/linux-sunxi/sunxi-tools.git
cd sunxi-toolsThen I created a fex file from my script.bin
make
./bin2fex /boot/script.bin > /boot/script.fexEdited the /boot/script.fex file to include the following:
[leds_para]leds_used = 1leds_num = 2leds_pin_1 = port:PH20<1><default><default><0>leds_name_1 = "green:ph20:led1"leds_pin_2 = port:PH21<1><default><default><0> leds_name_2 = "blue:ph21:led2"Then recreated and installed the new script.bin and rebooted
./fex2bin /boot/script.fex > /boot/script.bin
reboot
After reboot it still would not work, it turned out that I still needed to install a special module so that the OS would "see" the LEDs, the following command worked for me:
modprobe leds_sunxi
To ensure that the module was loaded on future boots I added the module to /etc/modules file:
echo "leds_sunxi" >> /etc/modulesI hope to do a lot more with this system as I become more familiar with it, I got a lot of help by Googling for the information, for more about working with the LEDS see http://linux-sunxi.org/Cubieboard/Programming/StatusLEDs
No comments:
Post a Comment